How to Make Your Own Fairy Garden
January 6, 2021
As a kid, I played fairy games and loved the thought of creating a fairy garden where I could imagine adventures taking place. To feed my creativity, over the years I collected small figurines and arranged them in my backyard, where they were mostly forgotten as I grew older, until they became the perfect finishing touch for a moss garden.
Throughout quarantine, I have been guilty of an utter lack of productivity and have yet to take advantage of the situation we are in. A lot of my abundant downtime has been spent on Pinterest.
Between TikTok and Pinterest, I had been itching for something creative to do other than an occasional sketch, and preferably something that would give me a sense of accomplishment.
In the past, I’ve tried taking care of houseplants, but I lack the skill to keep any plant alive for more than a week or two.
One day when I was scrolling through TikTok, I found a video talking about how easy it is to take care of moss, and a lightbulb went off in my brain as I decided to make a moss fairy garden for my room.
In my room, I’ll be putting the terrarium on the windowsill because moss requires indirect light. This is something to take into account if you choose to make your own.
It is best to use moss that grows naturally around your house or a nearby area to ensure that it will be low maintenance, as well as already adjusted to the light conditions. Generally, moss will grow on large rocks, forest grounds, and the bases of trees.
If you choose to purchase your own moss, you have to decide if you want Acrocarpous, which grows in clumps, or Pleurocarpous, which grows in sheets. I’d suggest a Pleurocarpous to make sure there isn’t exposed dirt in the end product.
For a Pleurocarpous moss, Hypnum curvifolium, also known as Sheet Moss, is very popular. Sheet Moss tolerates a little sunlight but prefers full shade. While it prefers moist conditions, overwatering it can cause the moss to rot.
For an Acrocarpous moss, Tortula ruralis, also known as Star Moss, looks gorgeous and grows in spiky star-like patterns. Unlike Sheet Moss, Star Moss enjoys medium to high light. Star Moss is drought tolerant and will turn red and twisted if it is too dry.
Overall, I had a blast with this project. It was definitely the highlight of my day and makes me happy when I check in on it.
Although I’ve forgotten to mist it a few days, I’m hopeful I’ll finally be able to keep a plant alive. Perhaps in the future, I will be able to take on more of a challenge with succulent plants.
Additionally, this could be a fun and easy project to do socially distanced with friends.
Below is a step-by-step recommendation of how to do this project if you want to try this.
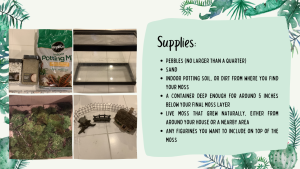
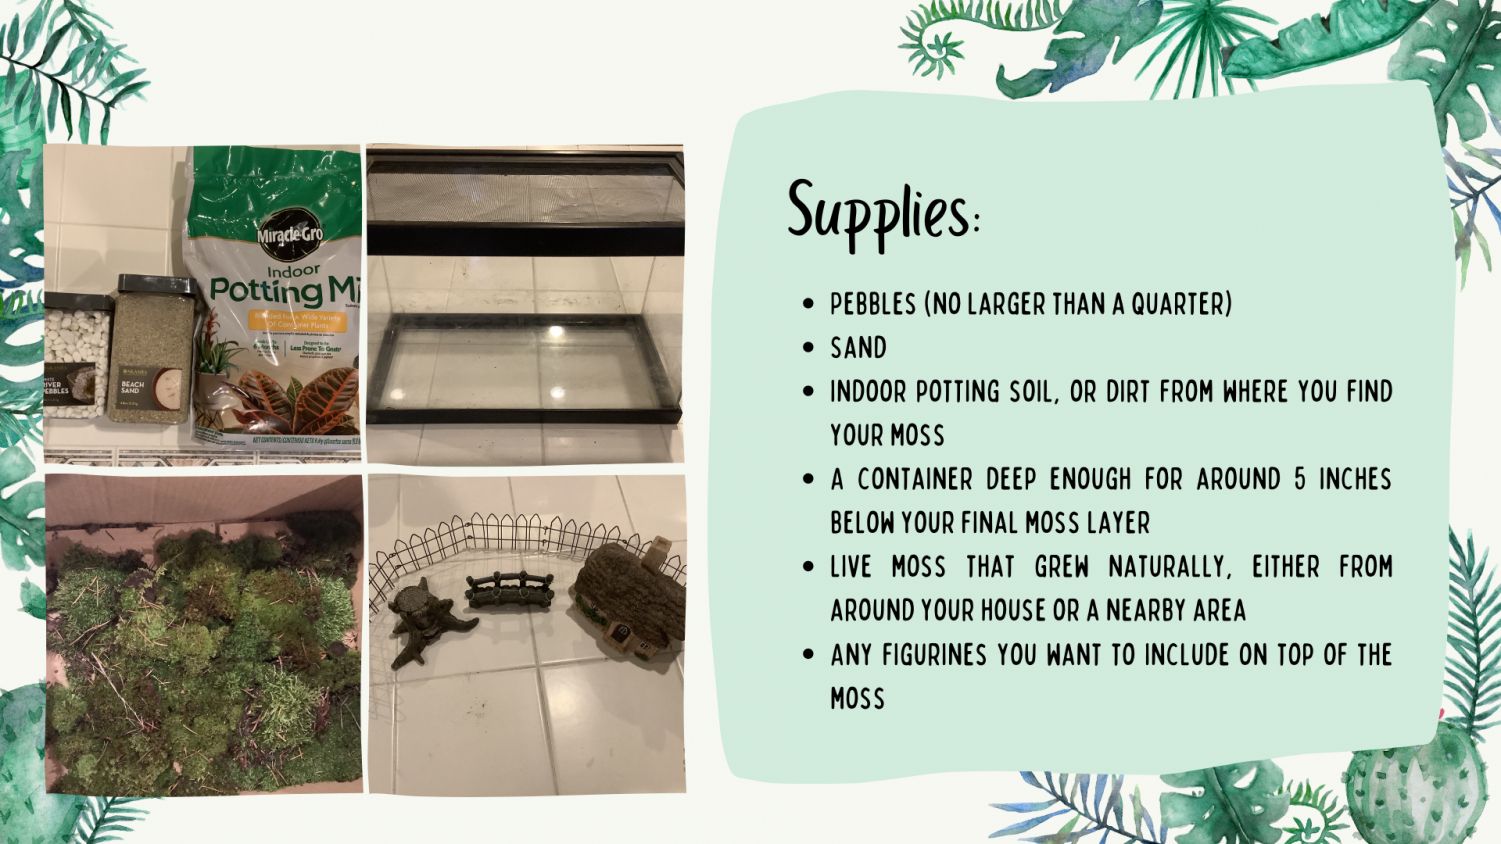
-
All of the above supplies can be found at Lowes, Home Depot, and most other stores that have a gardening section.
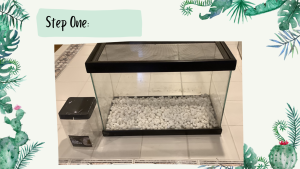
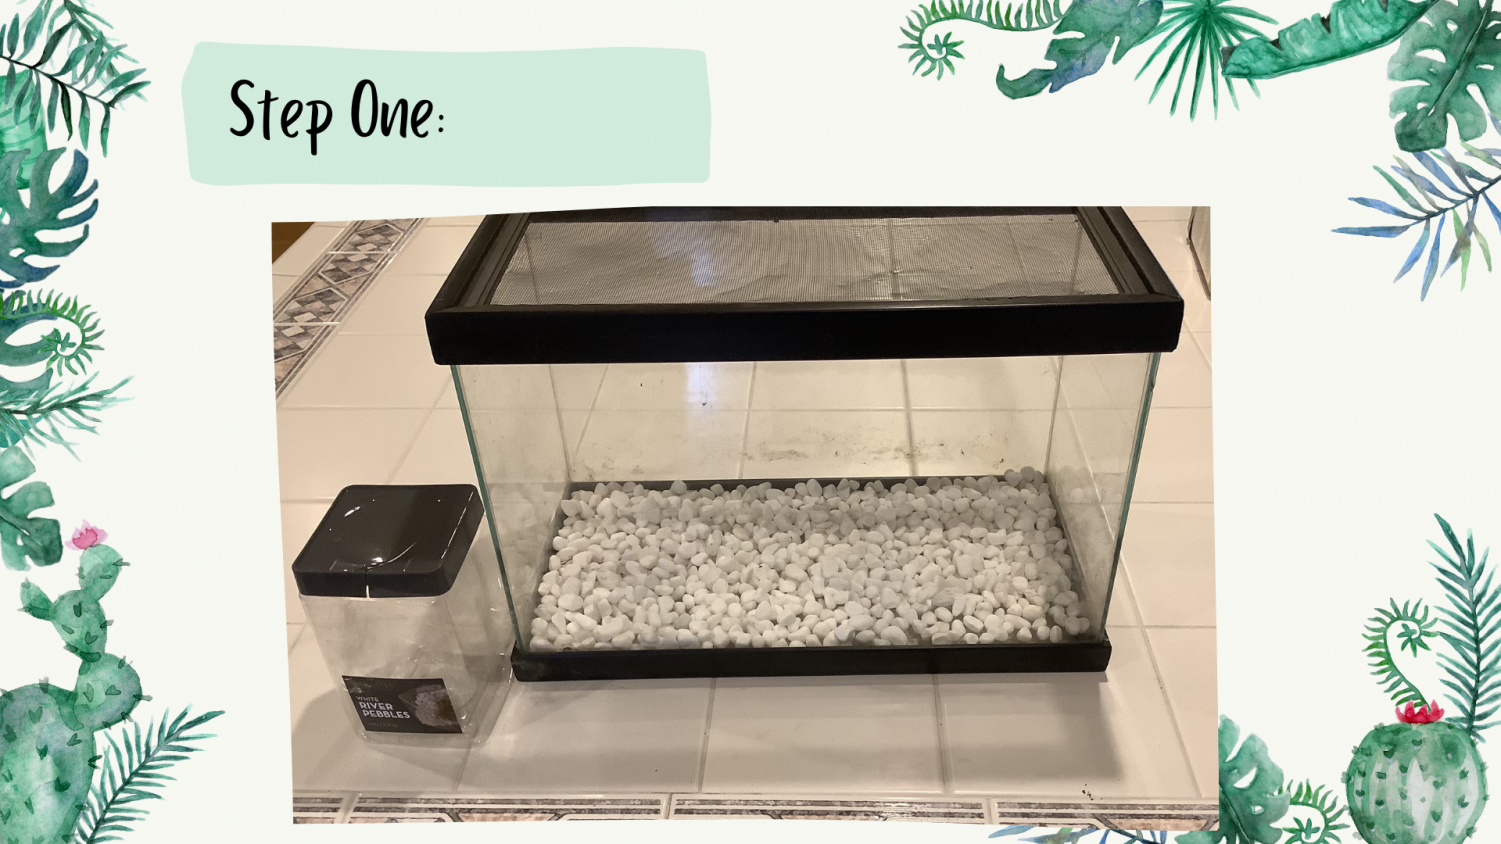
-
Take pebbles and put them into your container to help with drainage. The rock layer in my terrarium was about half an inch deep, but this will vary depending on container size.
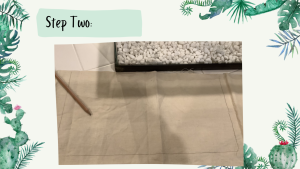
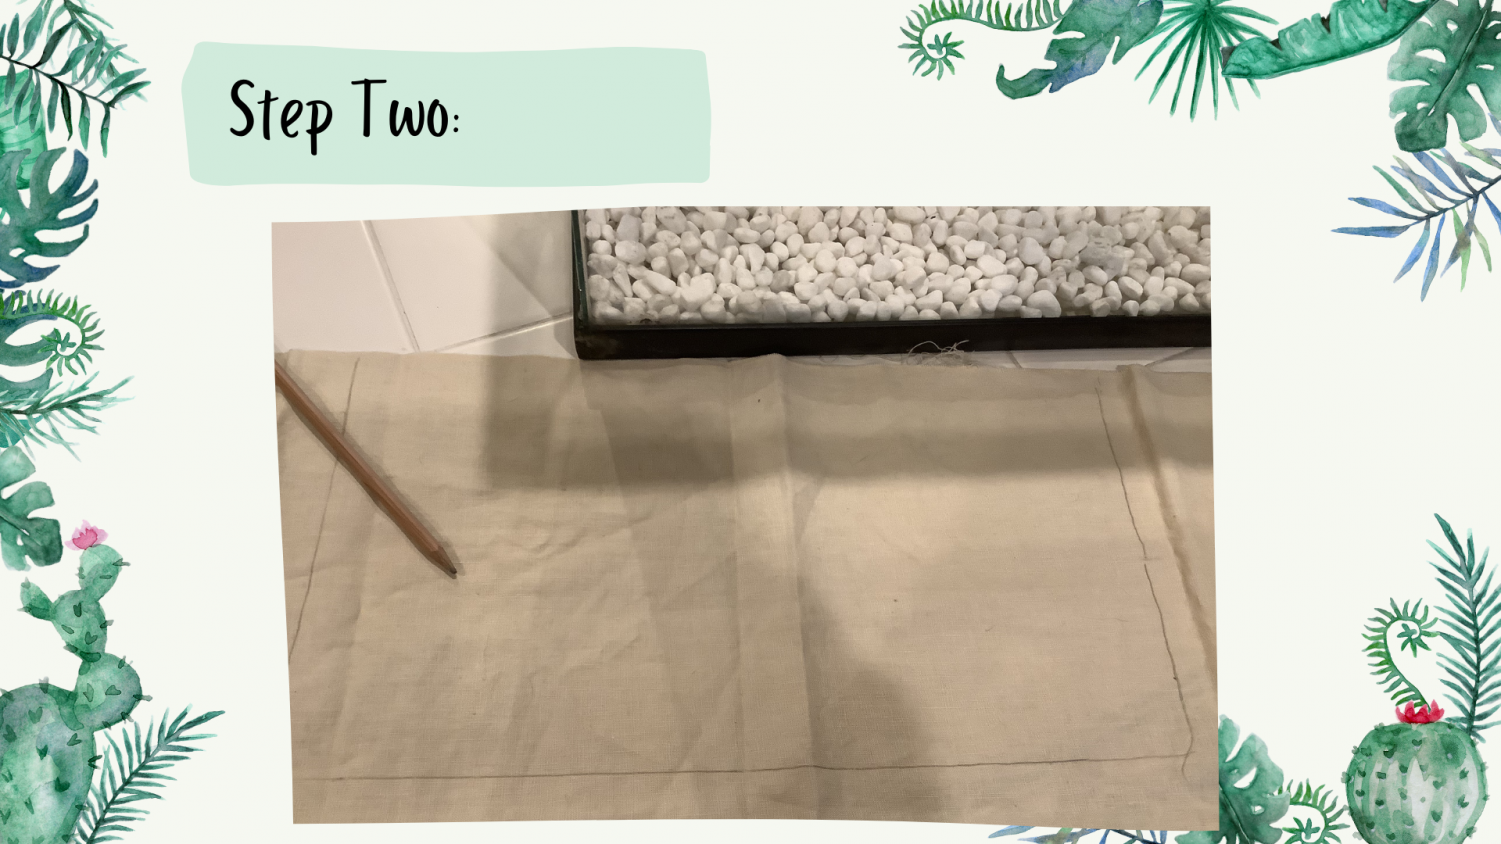
-
Trace the bottom of your container onto fabric and cut it out. If the bottom of your container is curved, try to eyeball it.
-
Place the fabric on top of the rocks to serve as a barrier between the pebbles and the dirt. Do not worry if the fabric layer is too large or small, as long as it covers a majority of the bottom.

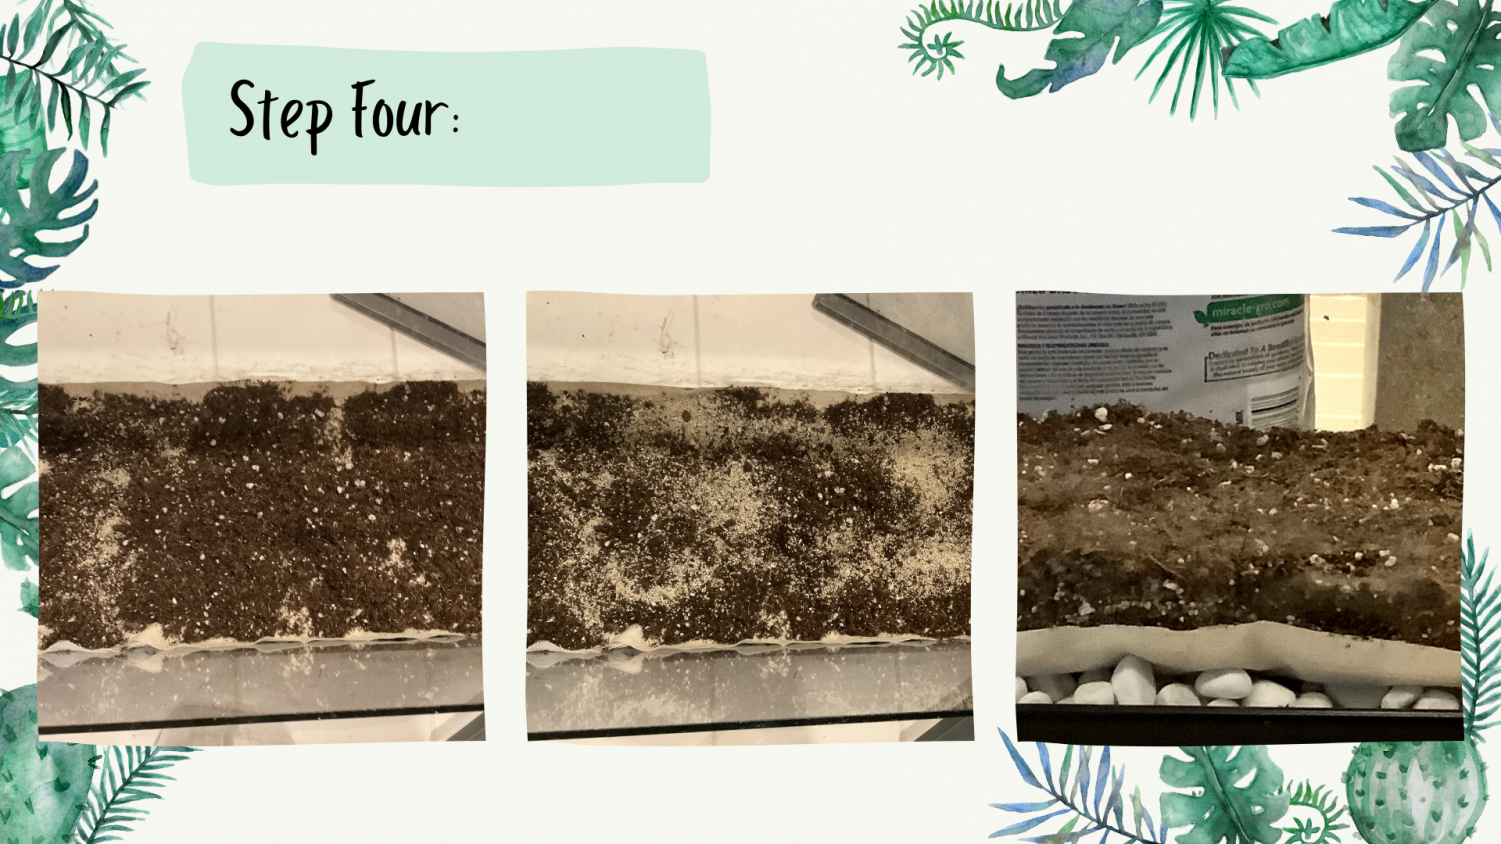
-
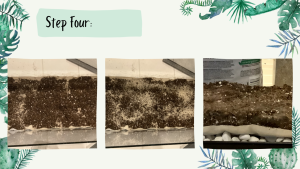
Begin to layer dirt, sprinkling a thin layer of sand between each layer of potting soil that covers the sand until you have about an inch. Once the layers look something like the photo on the right, you can pick which pieces of moss you want to include.
-
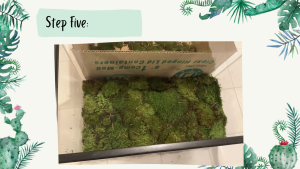
Cover all of the dirt in a layer of live moss, making sure you cannot see any dirt from above. Try to include different kinds of moss for a more natural look.

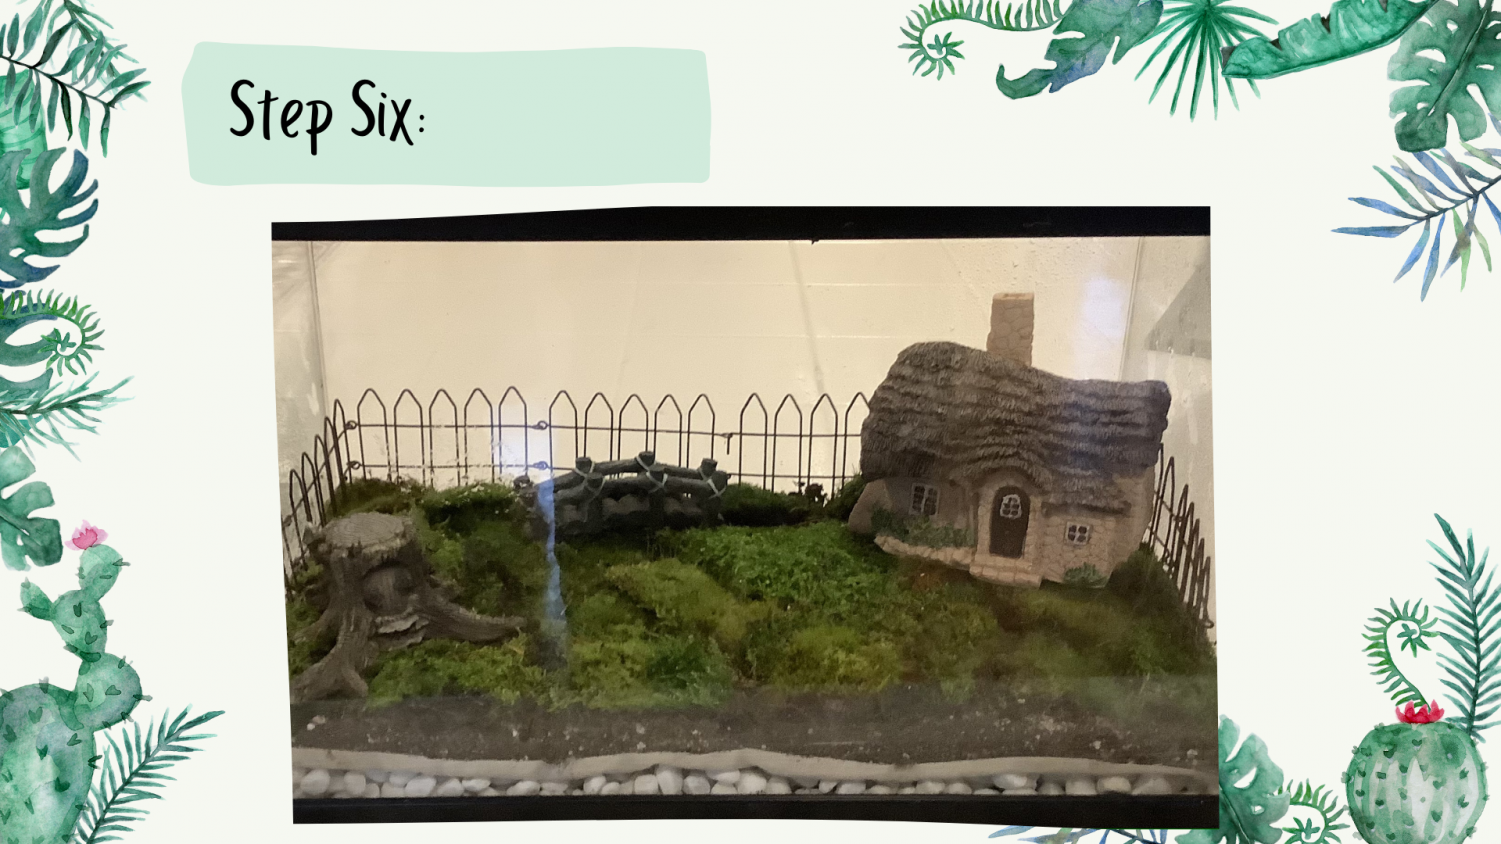
-
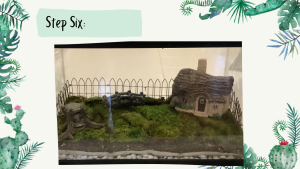
Have fun arranging your decorations and making your terrarium look like a fairy garden.