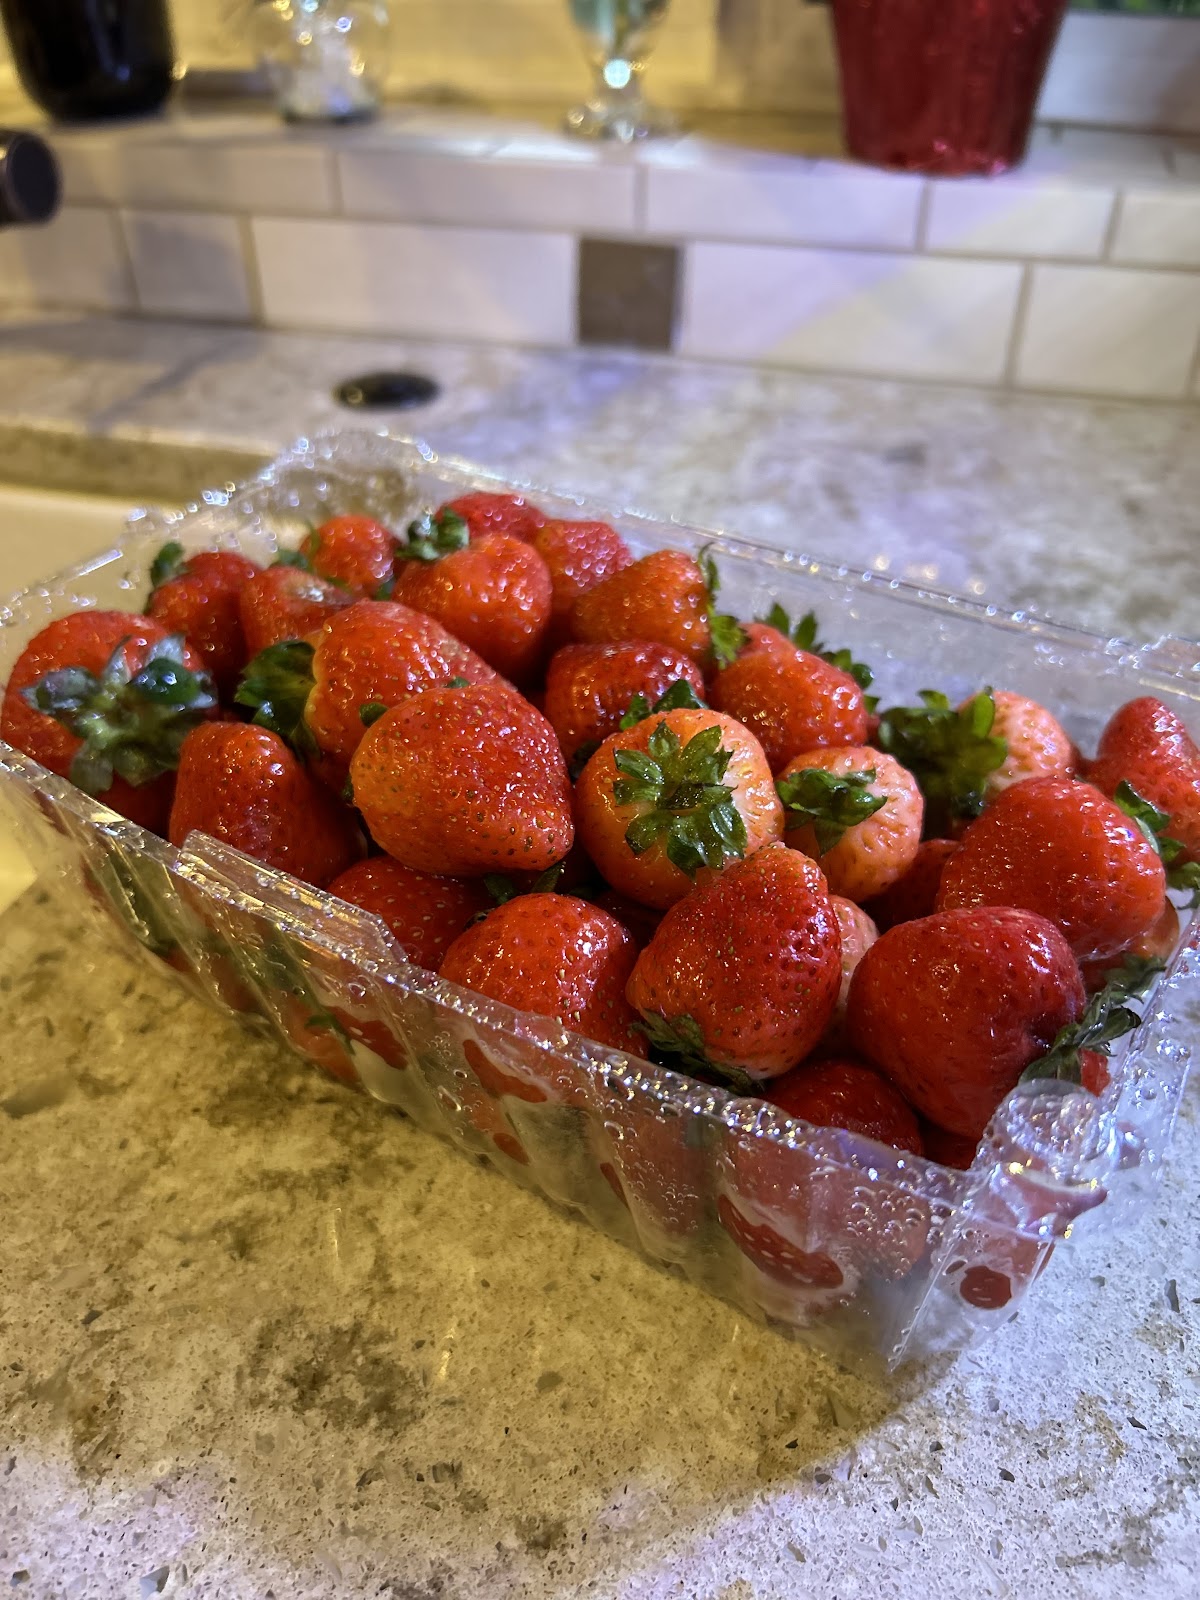
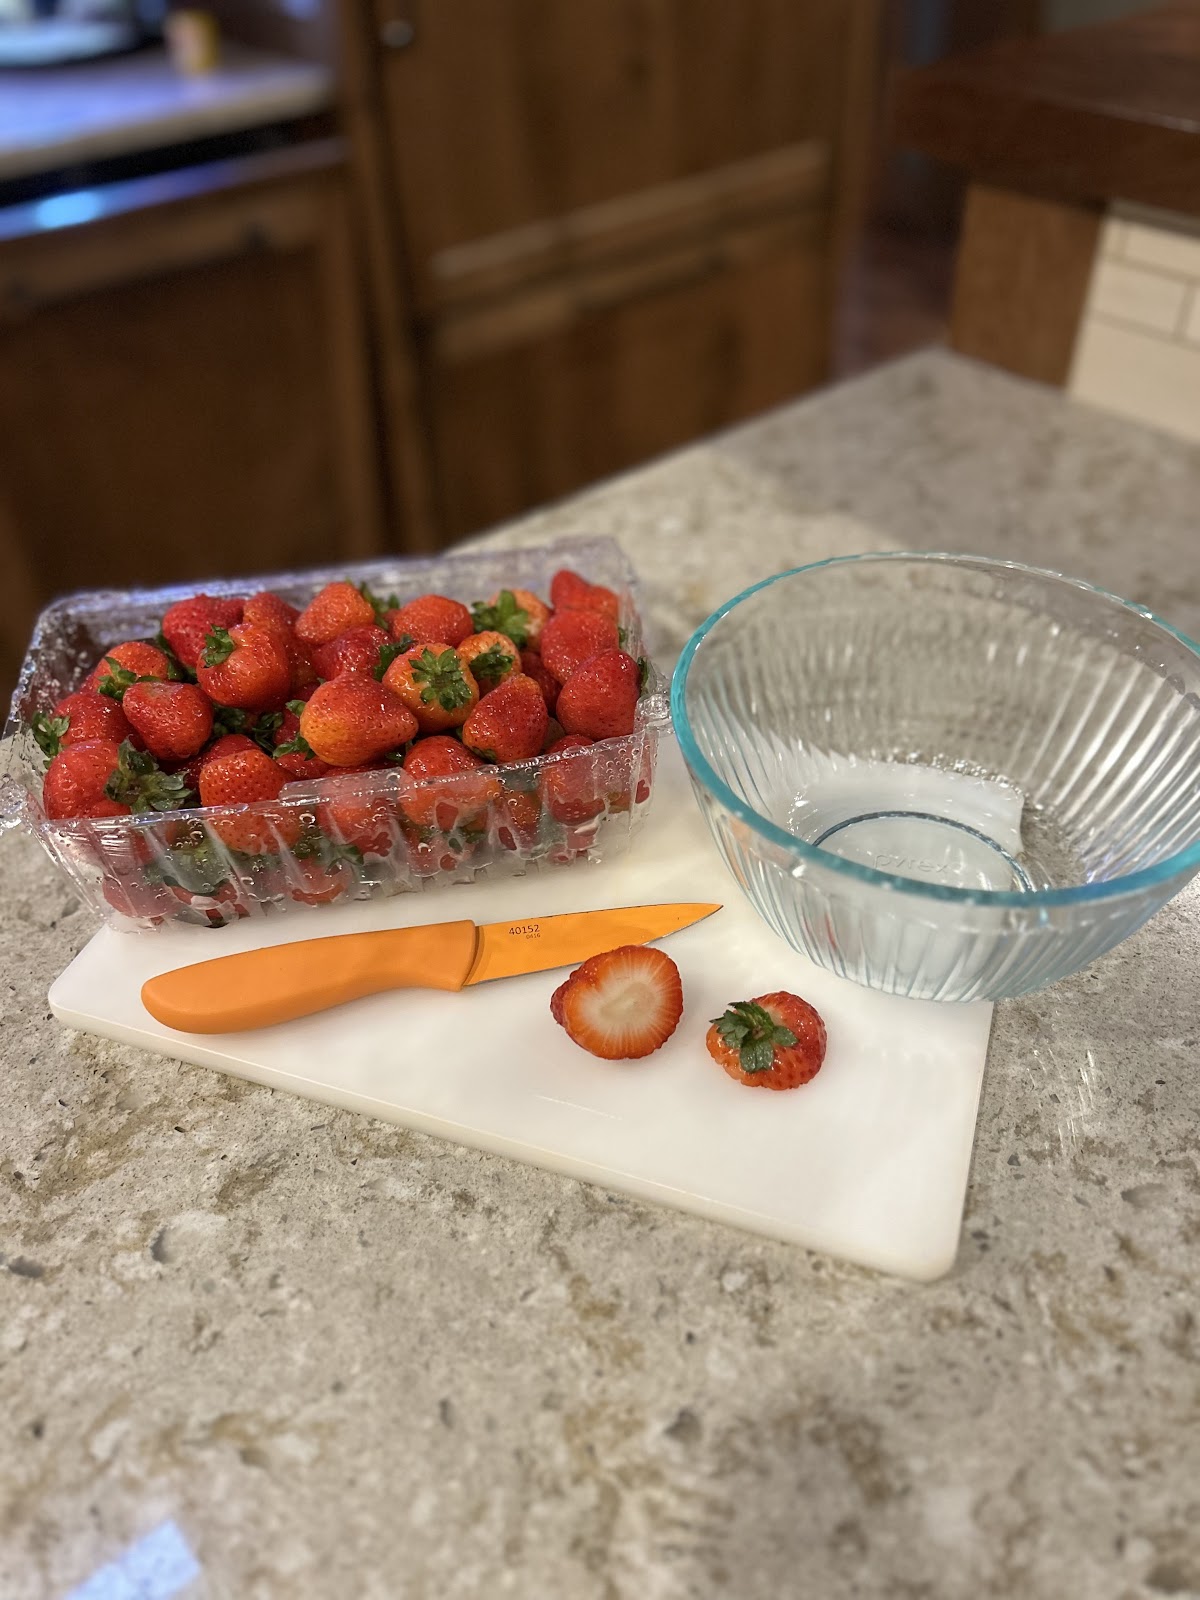
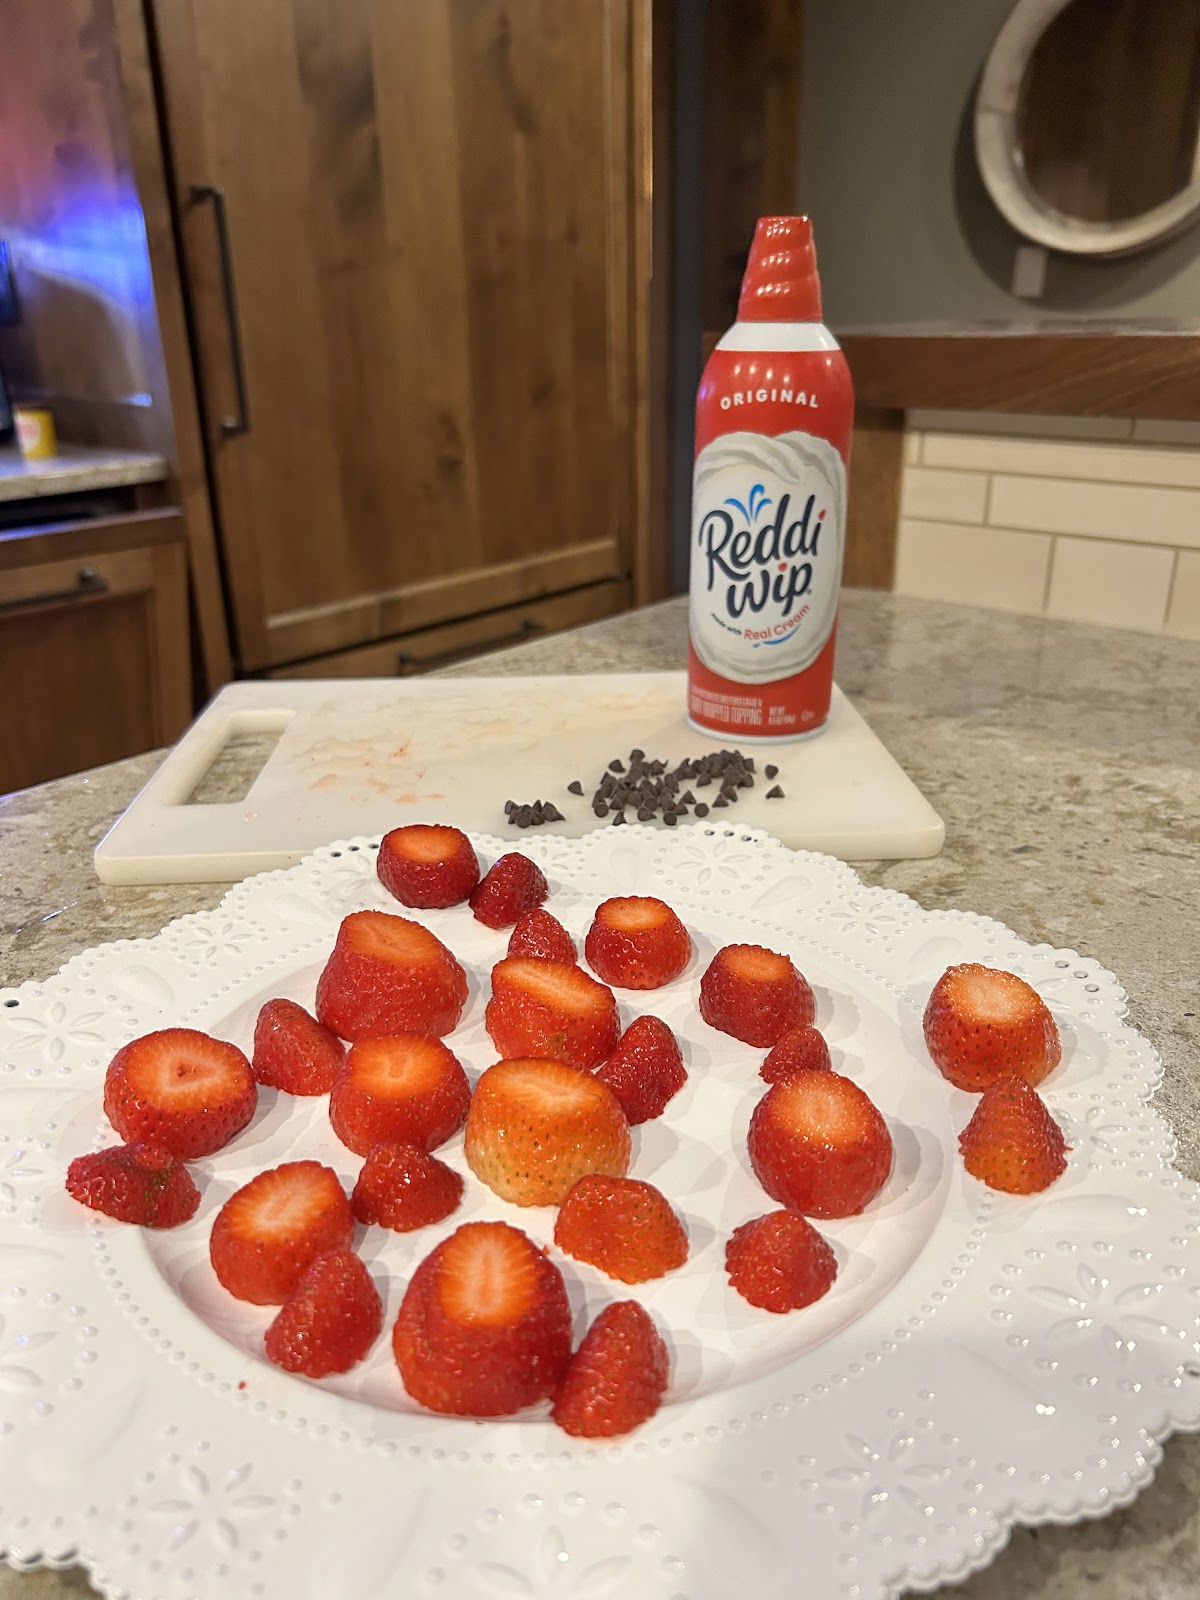
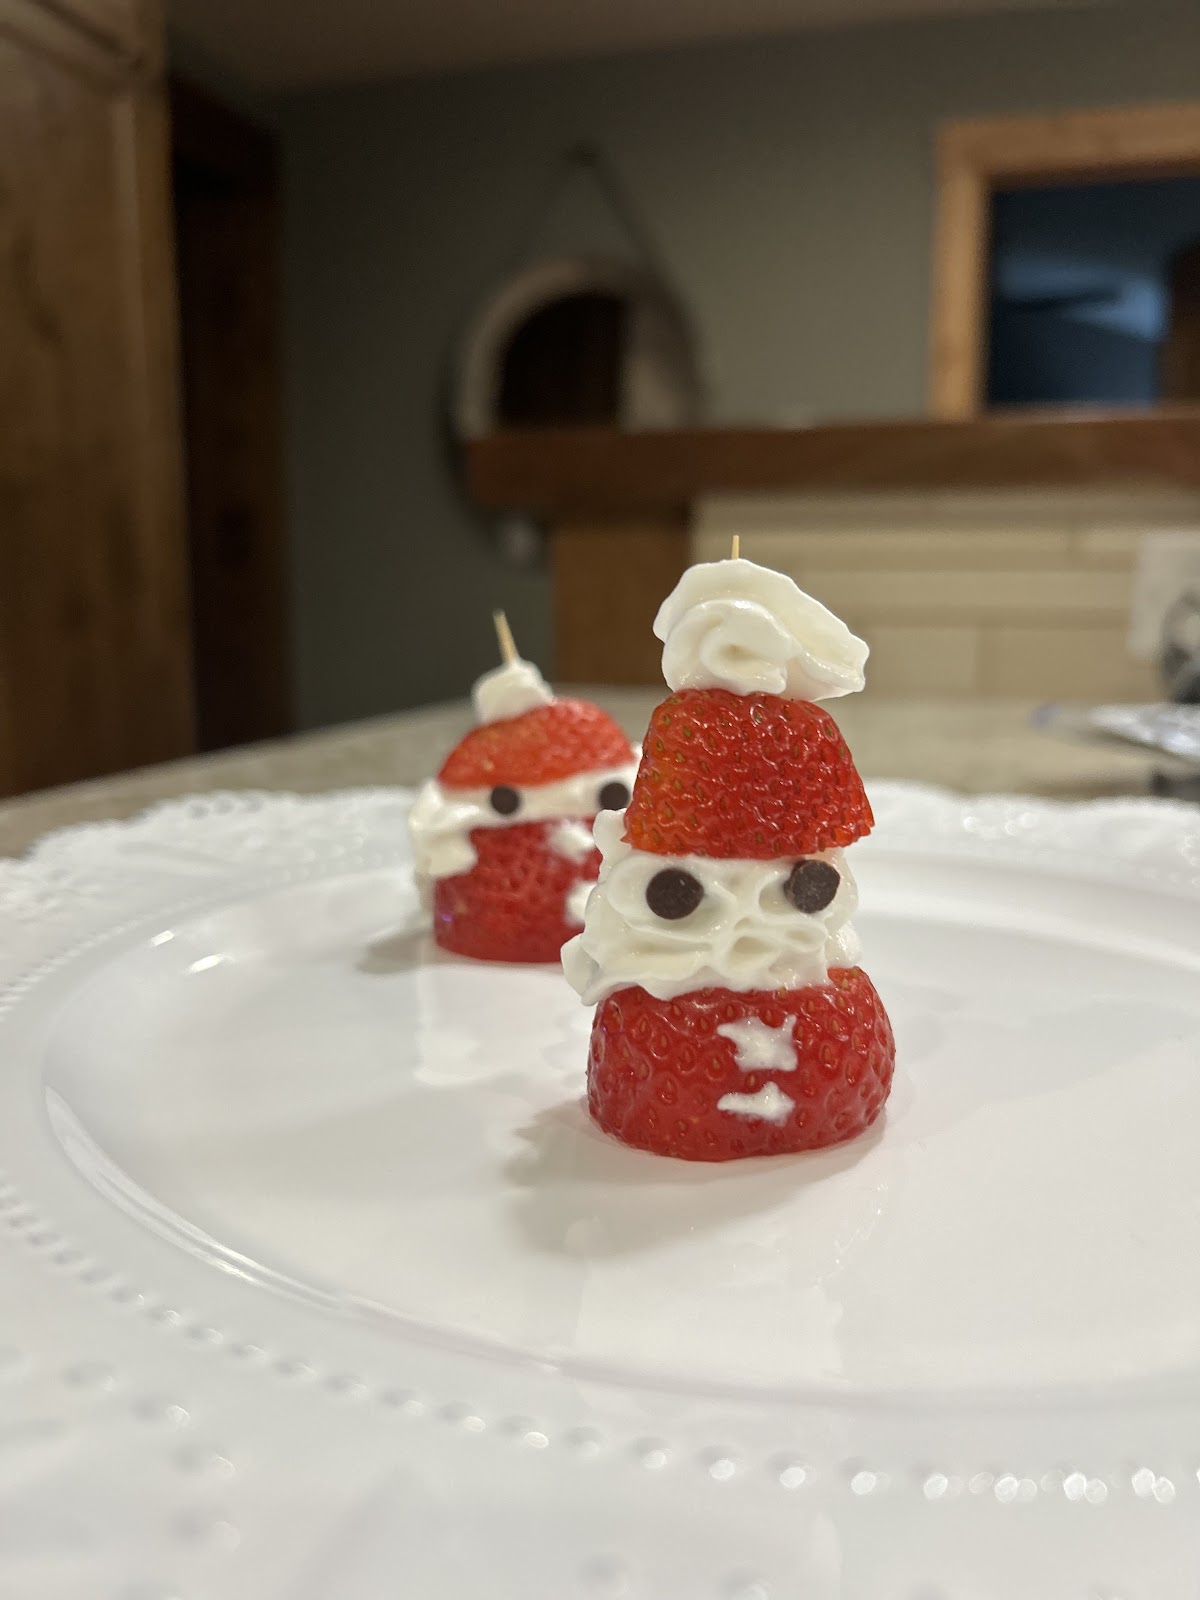
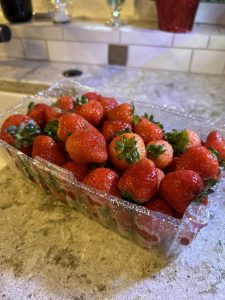
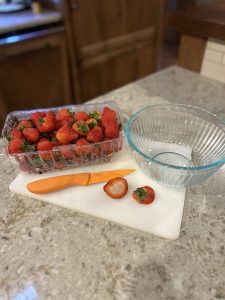
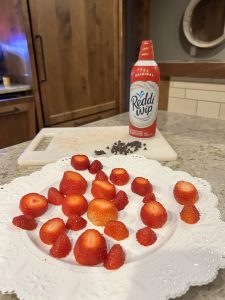
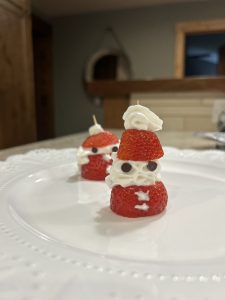
The first thing you’ll need to do is wash the strawberries. Then, you’ll need to cut the tops off the strawberries to remove the leaves. Then you’ll need to also cut the tips of the strawberries off and put them next to the rest of the strawberries. To make it easier later on, keep the two pieces of the strawberry next to one another to make sure they fit right. Then, grab the rest of the ingredients — whipped cream, mini chocolate chips, and toothpicks — to finish the dessert. Next, you’ll need to put the whipped cream into the middle of the strawberry pieces. Make sure to put them back into the fridge as soon as you finish making them so that the whipped cream doesn’t melt off. Finally, you’ll be able to put the mini chocolate chips in place for the eyes, add a few whipped cream buttons, and do a taste test!
Overall, I would rate these Mini Strawberry Santas an 8 out of 10 because they were very yummy and quick to make!
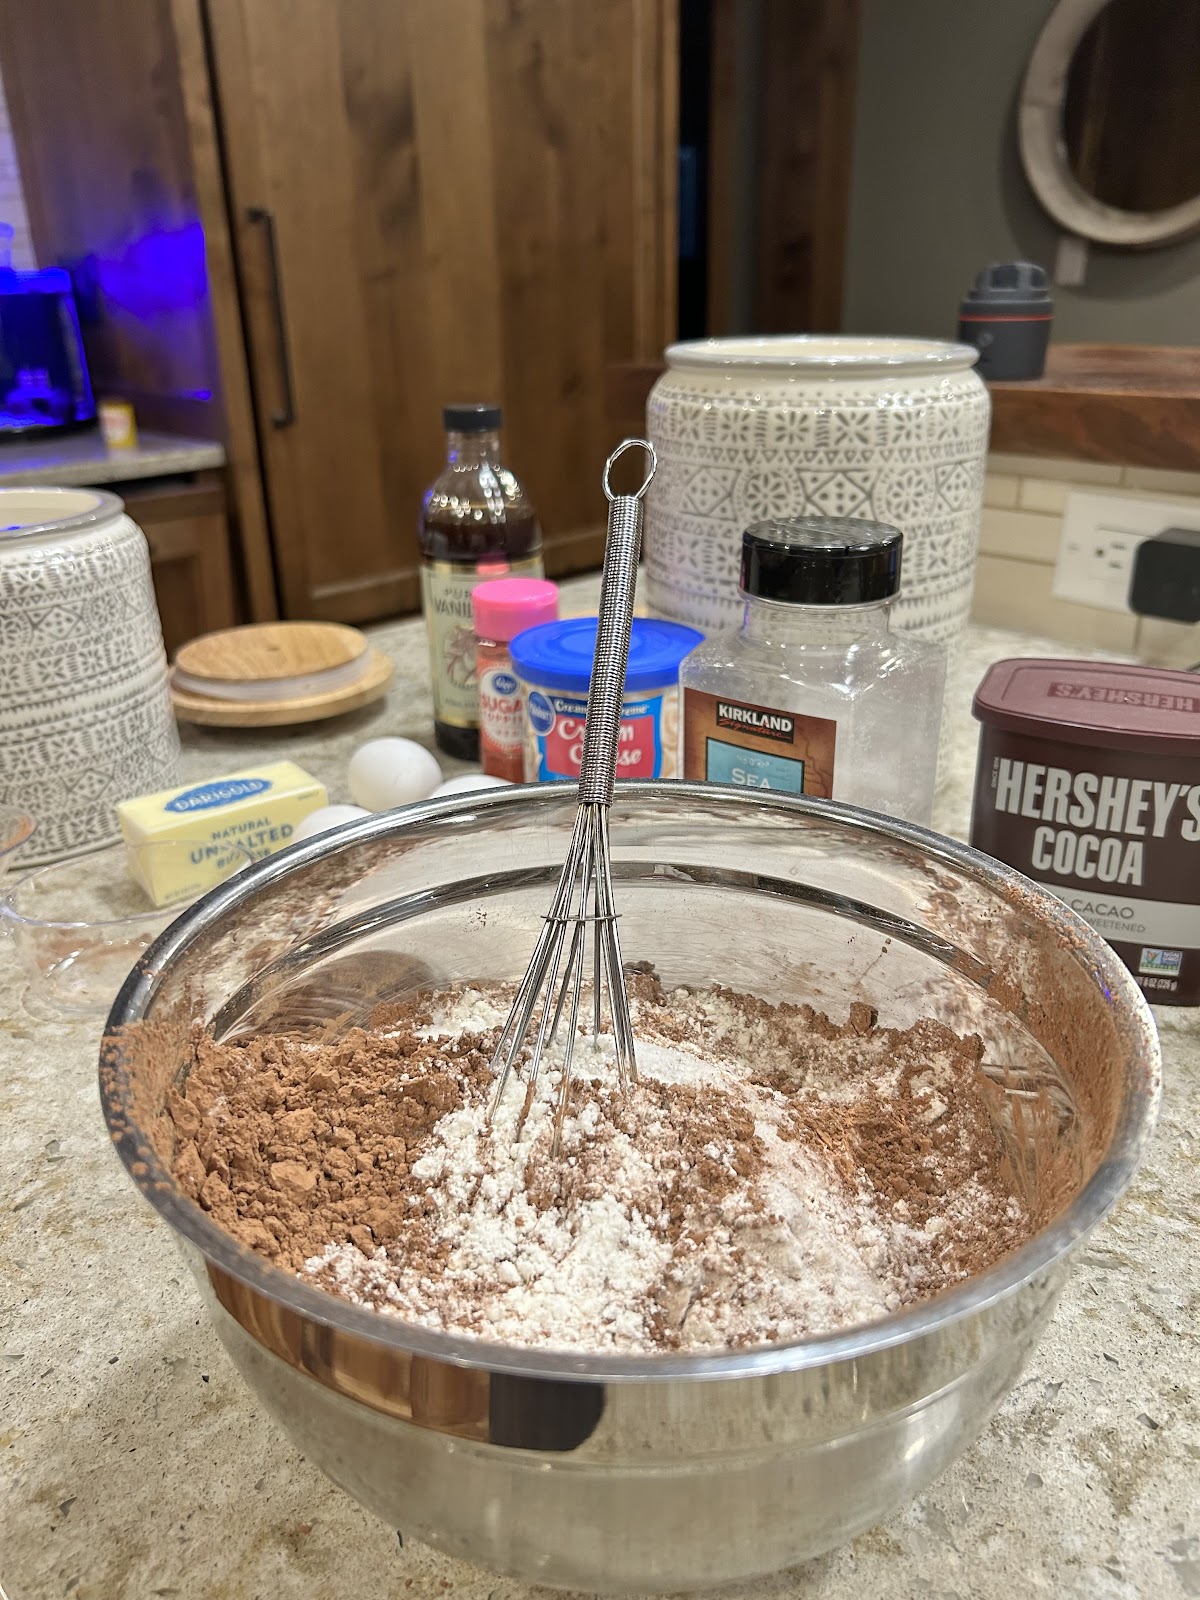
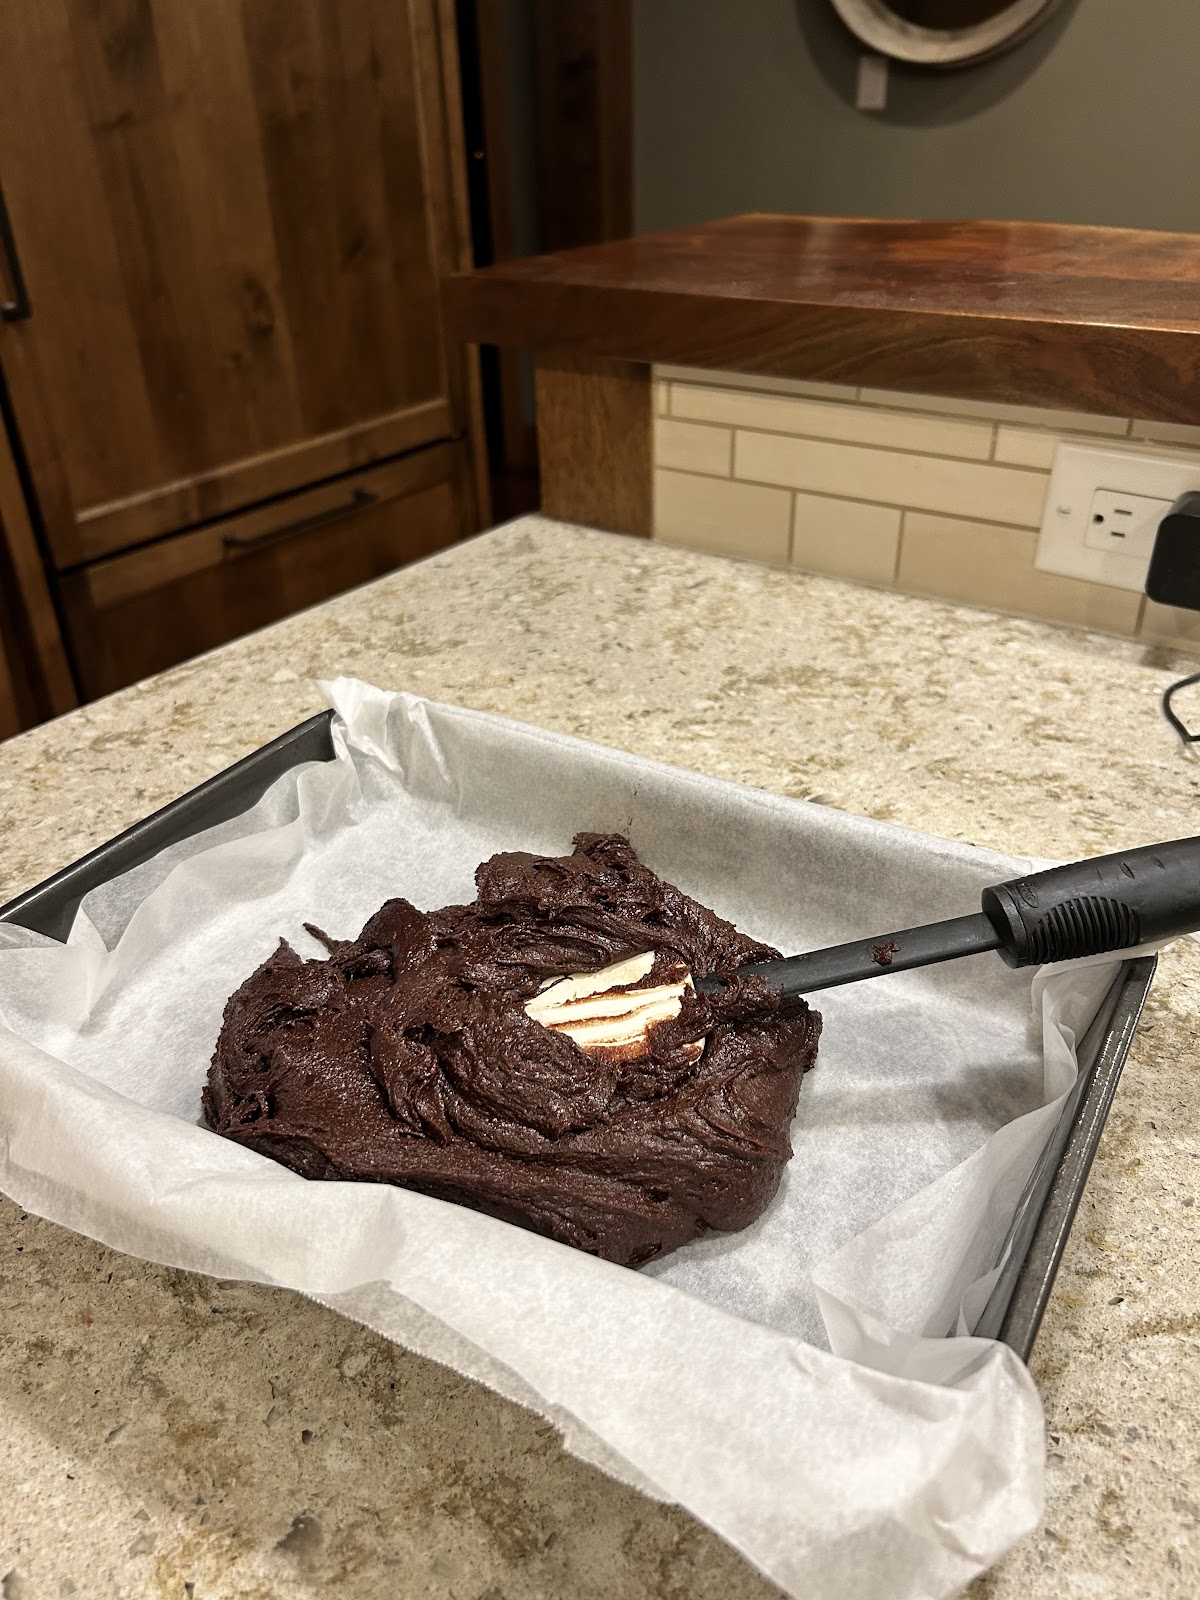
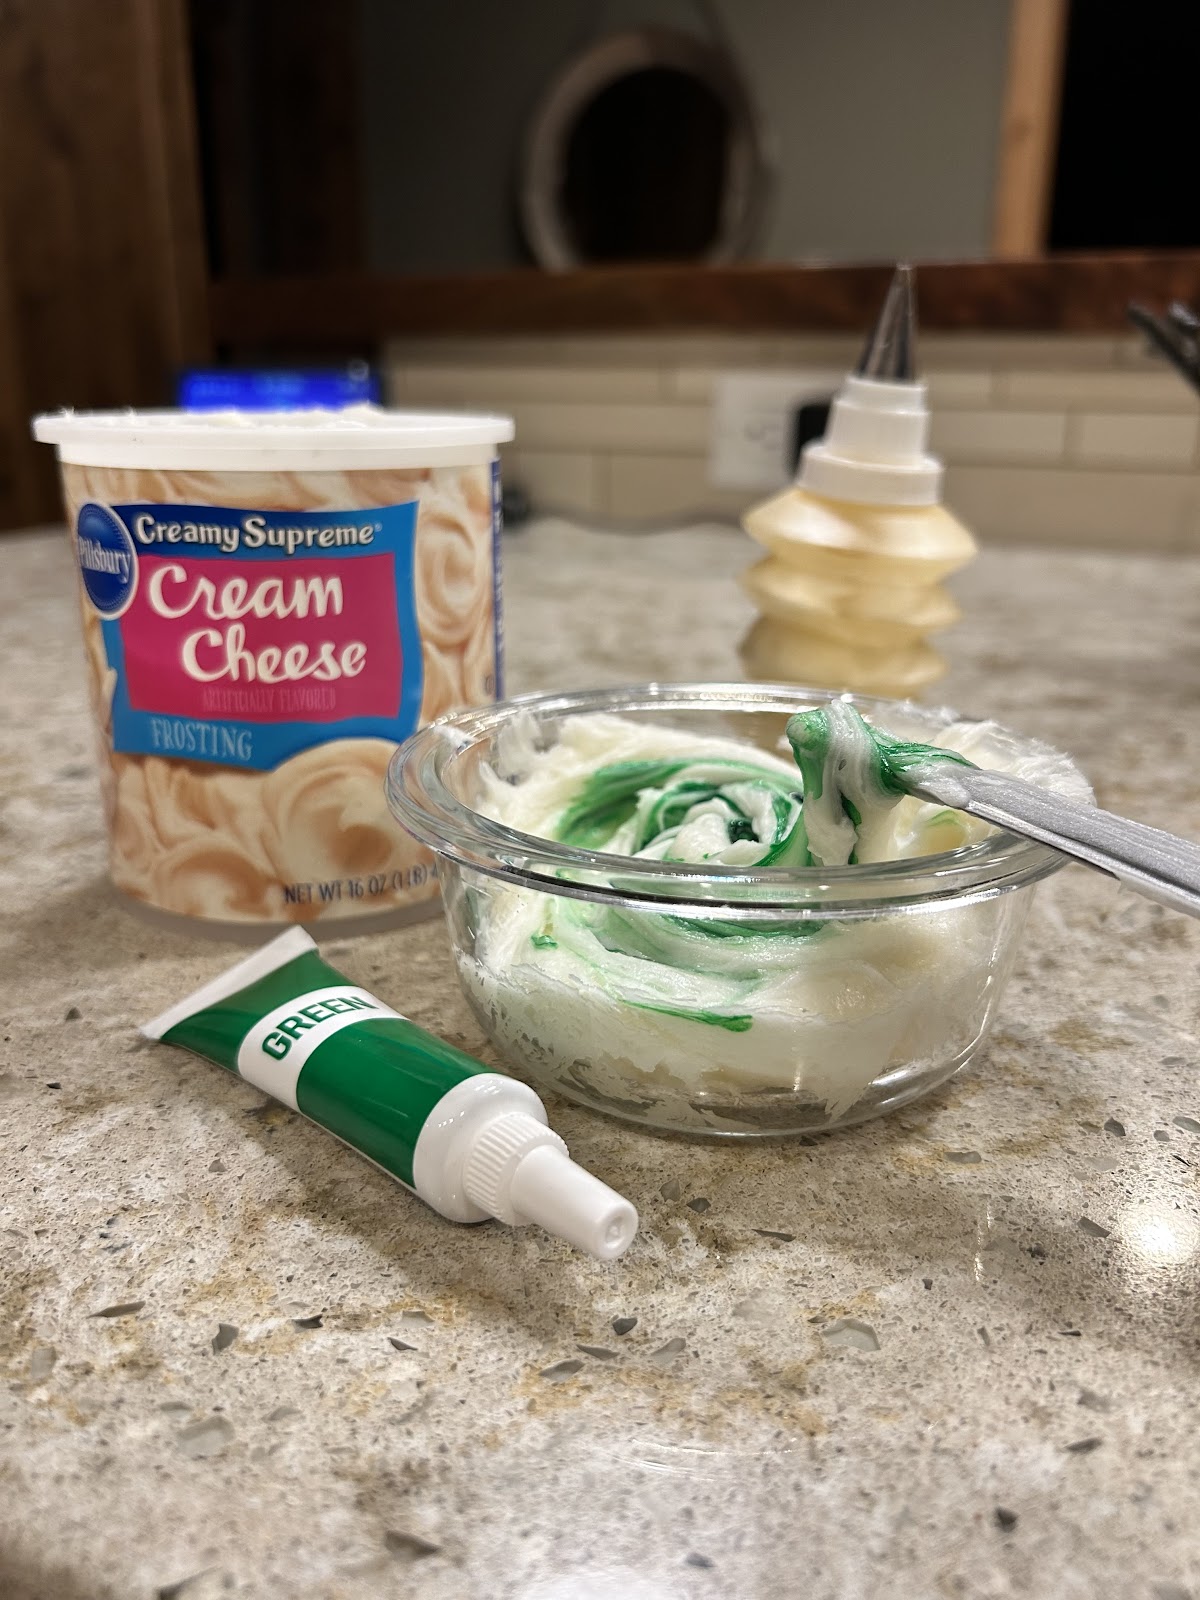
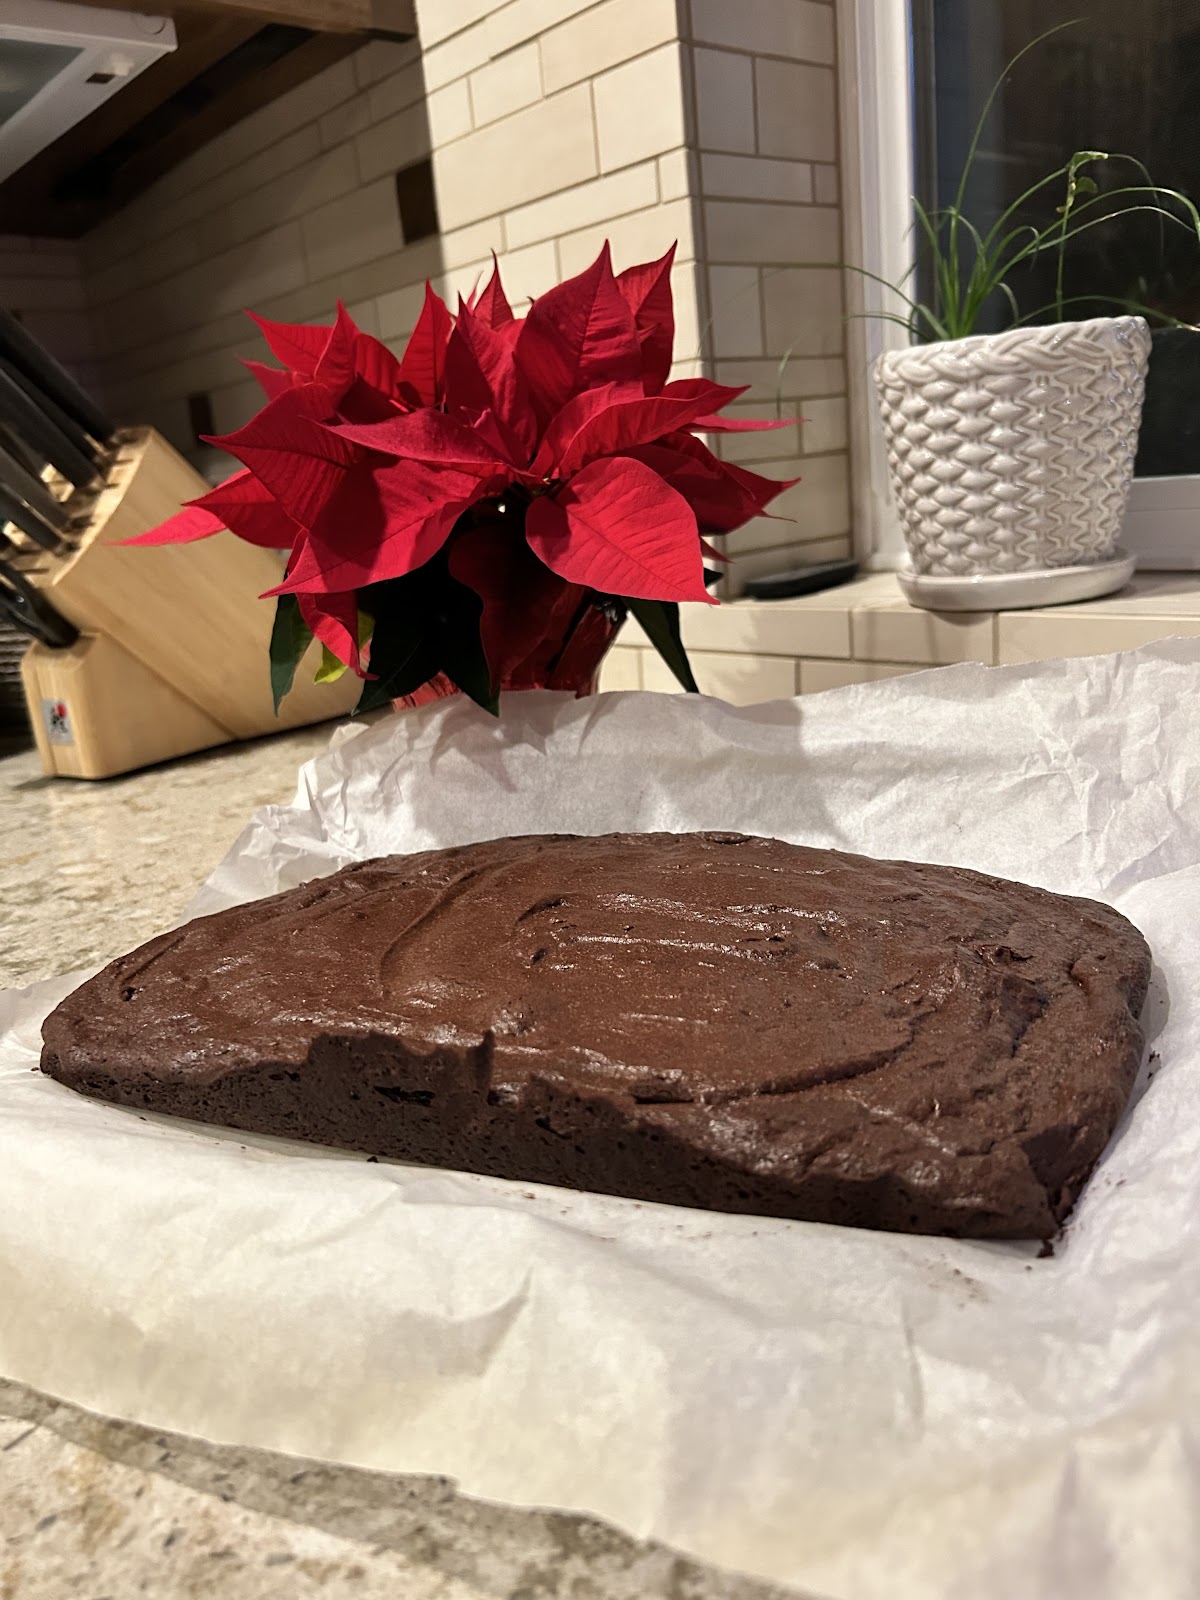
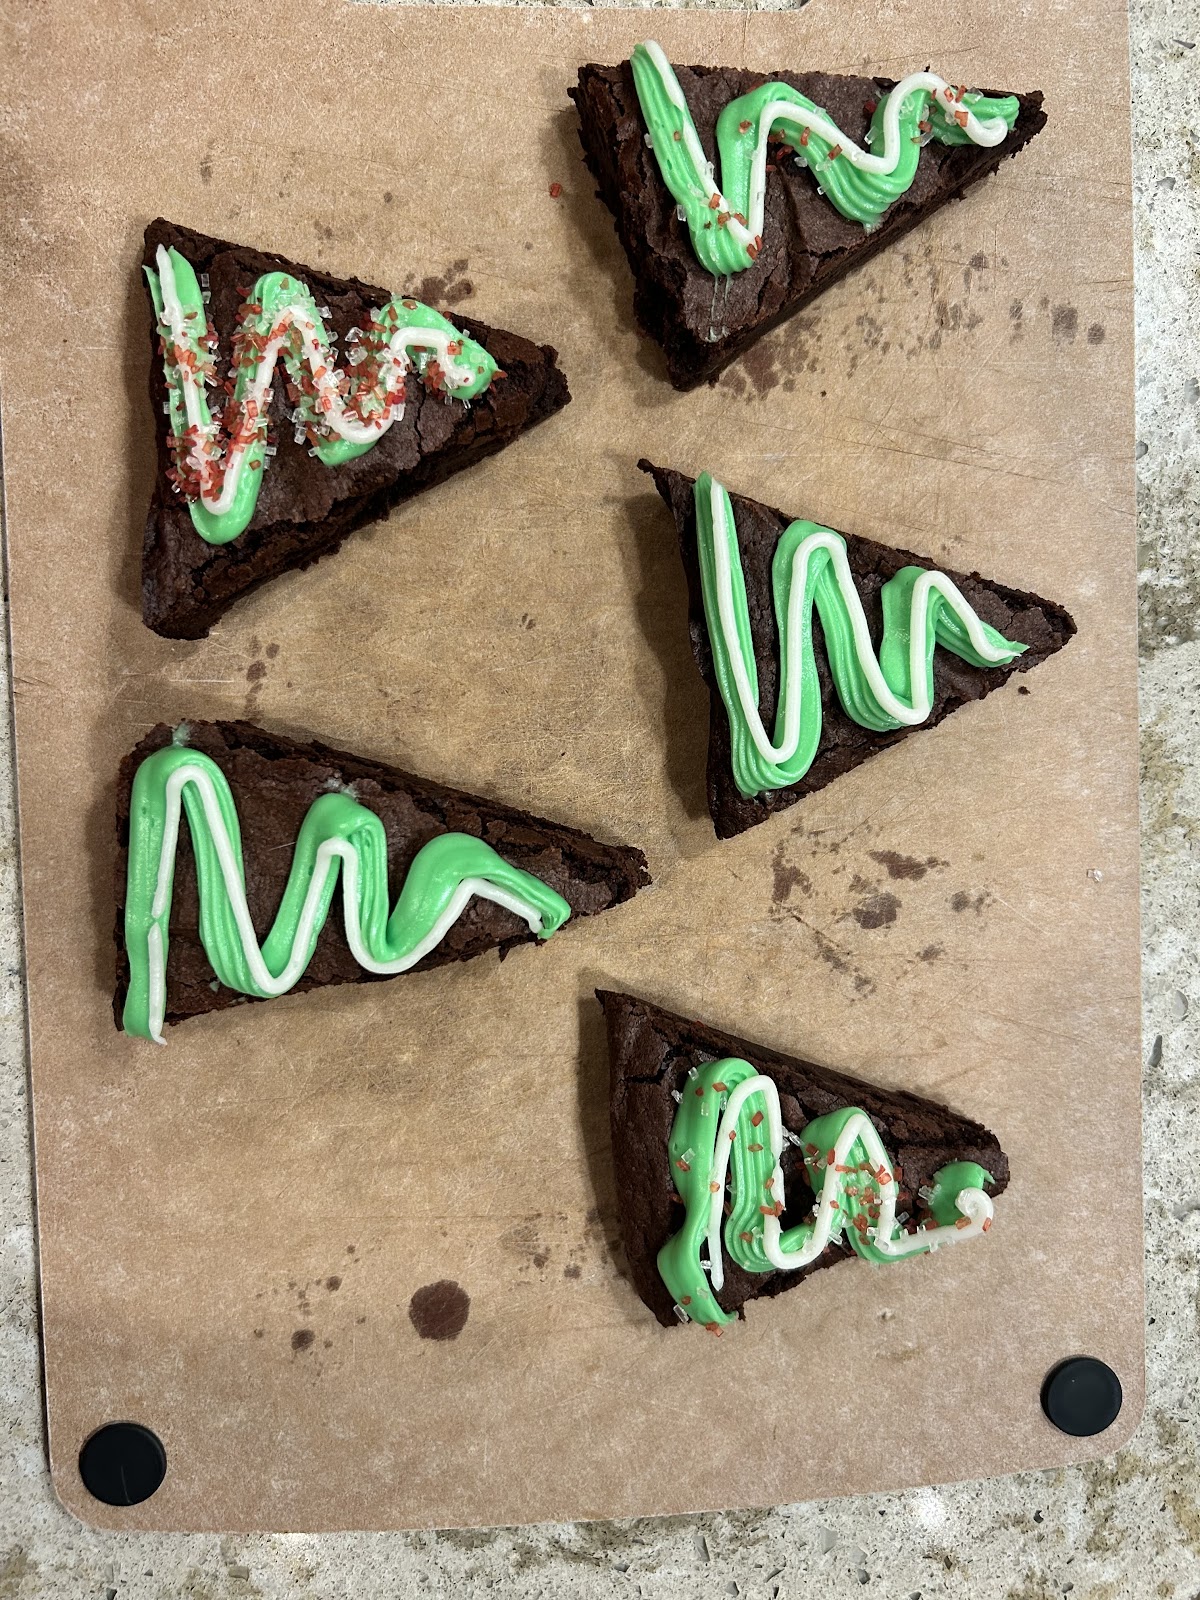
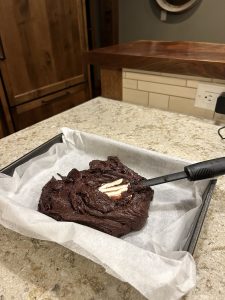
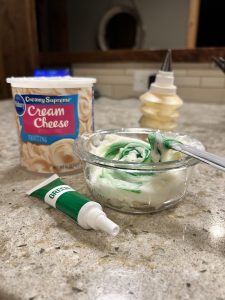
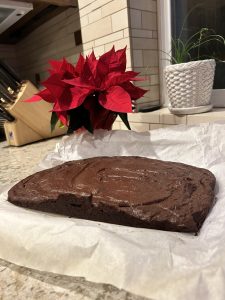
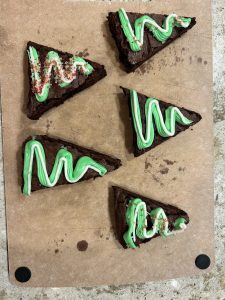
Following the recipe included to make the brownies, pour the batter into a pan with wax paper underneath. Then you can slide the pan into the oven to let it cook for about 40 minutes, since they weren’t done after the said time of 30 minutes. To check the brownies you should stick a toothpick in the center, and if you see batter on the toothpick, they need to be cooked for a little longer. While the brownies are cooking, start mixing the green food dye into some of the cream cheese frosting. Then you can put the frosting into a pipe bag to get ready. Once the brownies are cooked, let them cool for about an hour before decorating. Then cut the brownies into triangles to look like trees. Finally, decorate the brownies with green frosting and sprinkles.
I would rate this dessert a 10 out of 10. This treat is the total package: chocolatey, fun, and festive!
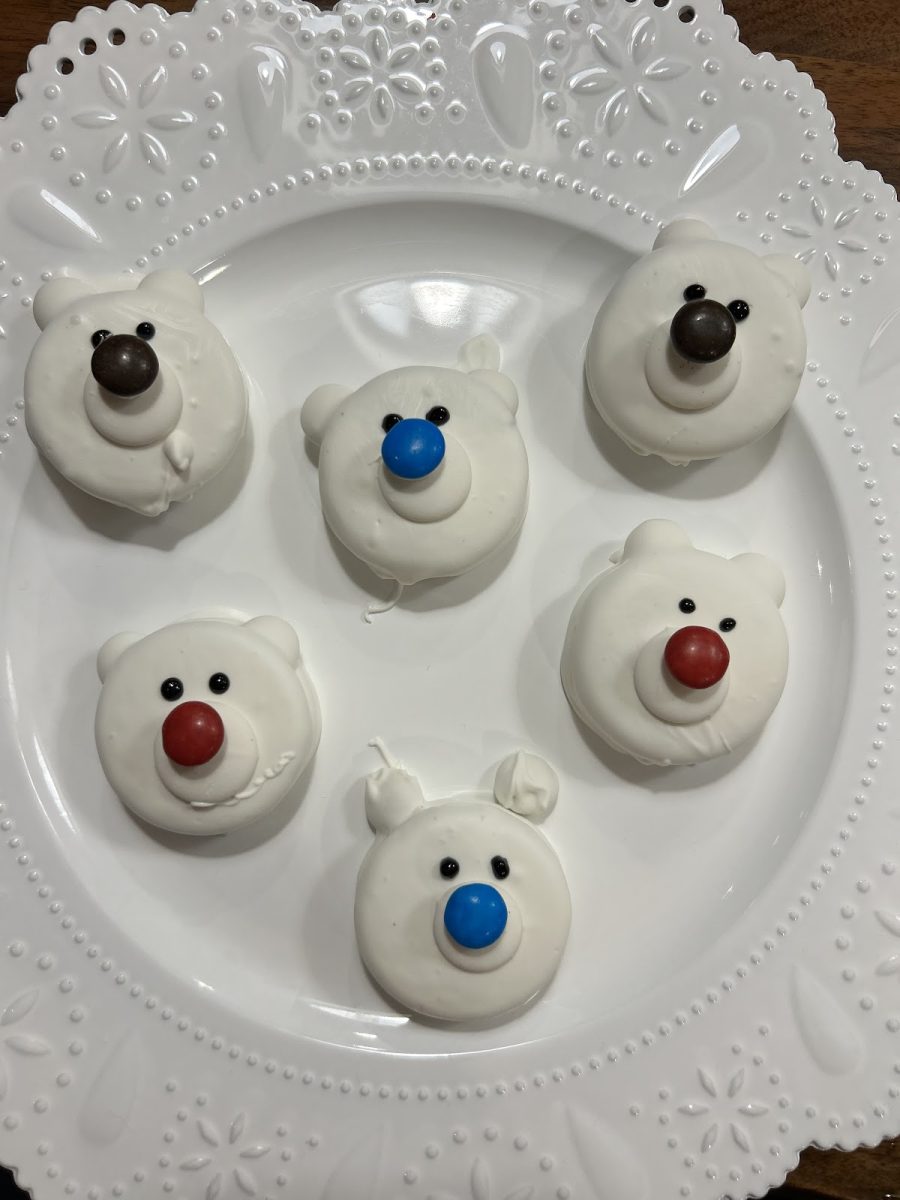
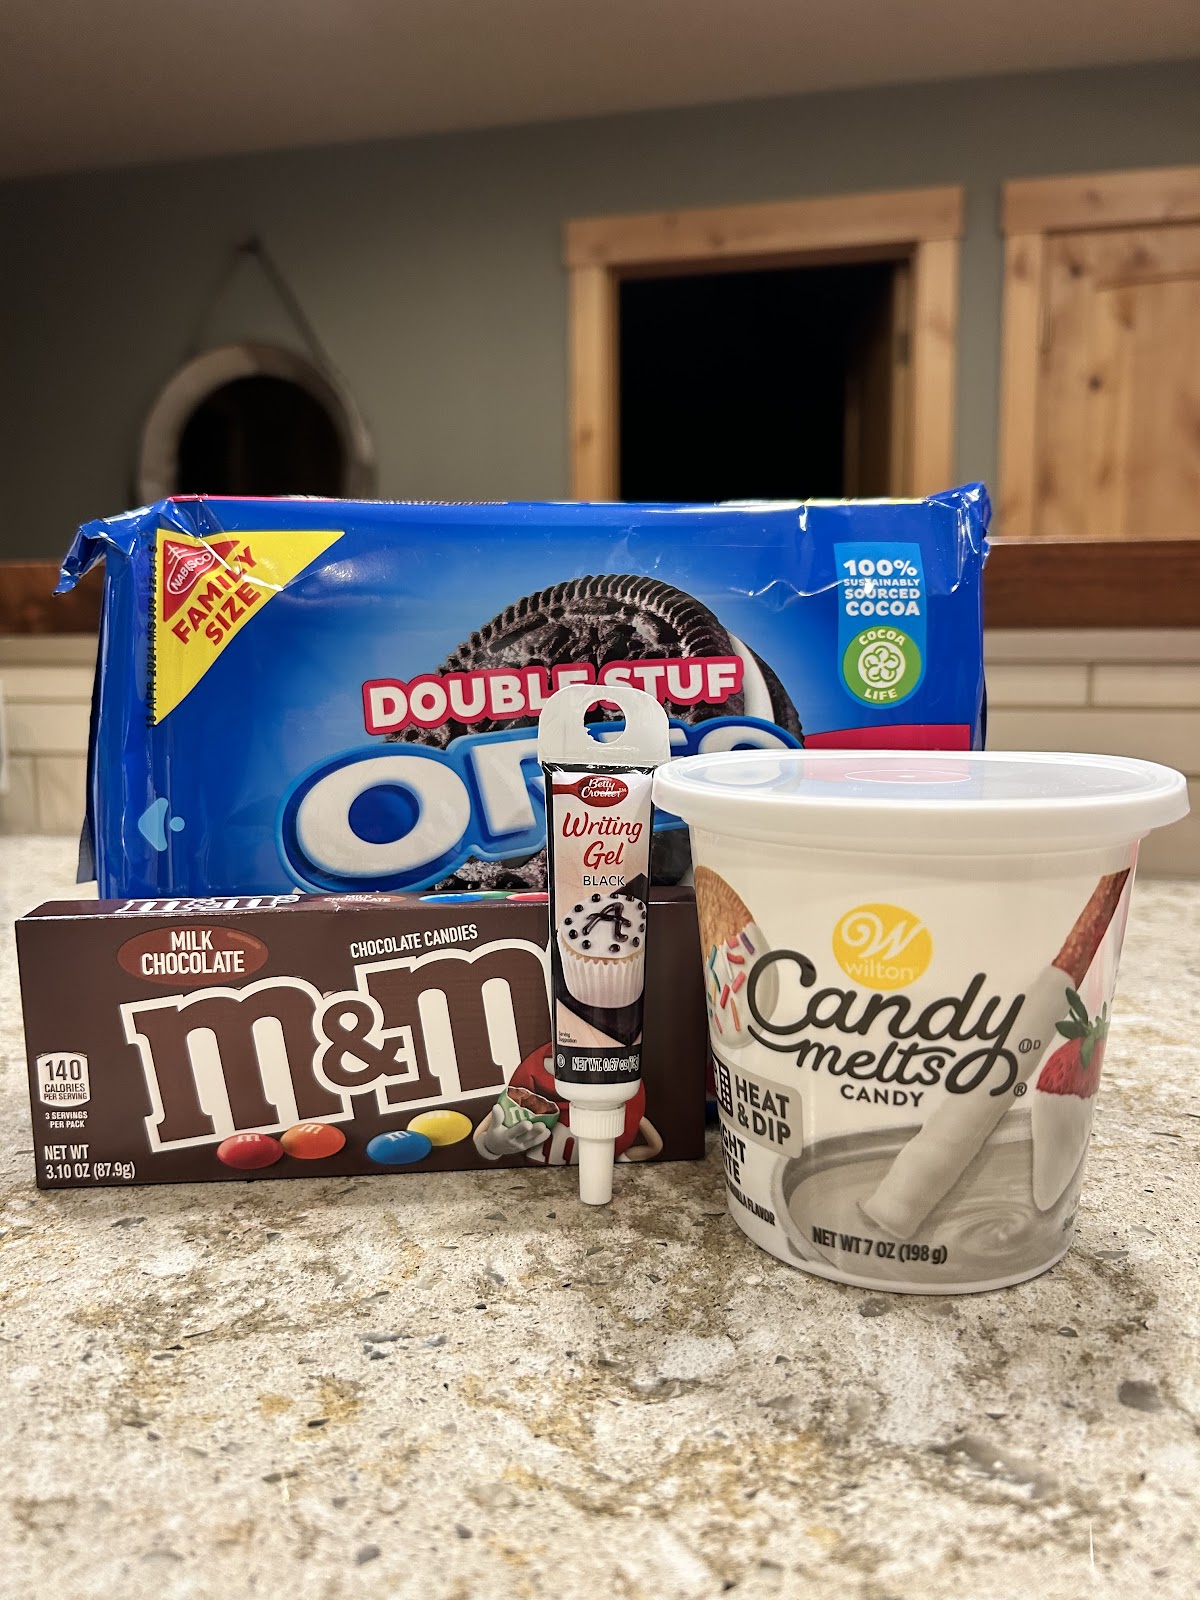
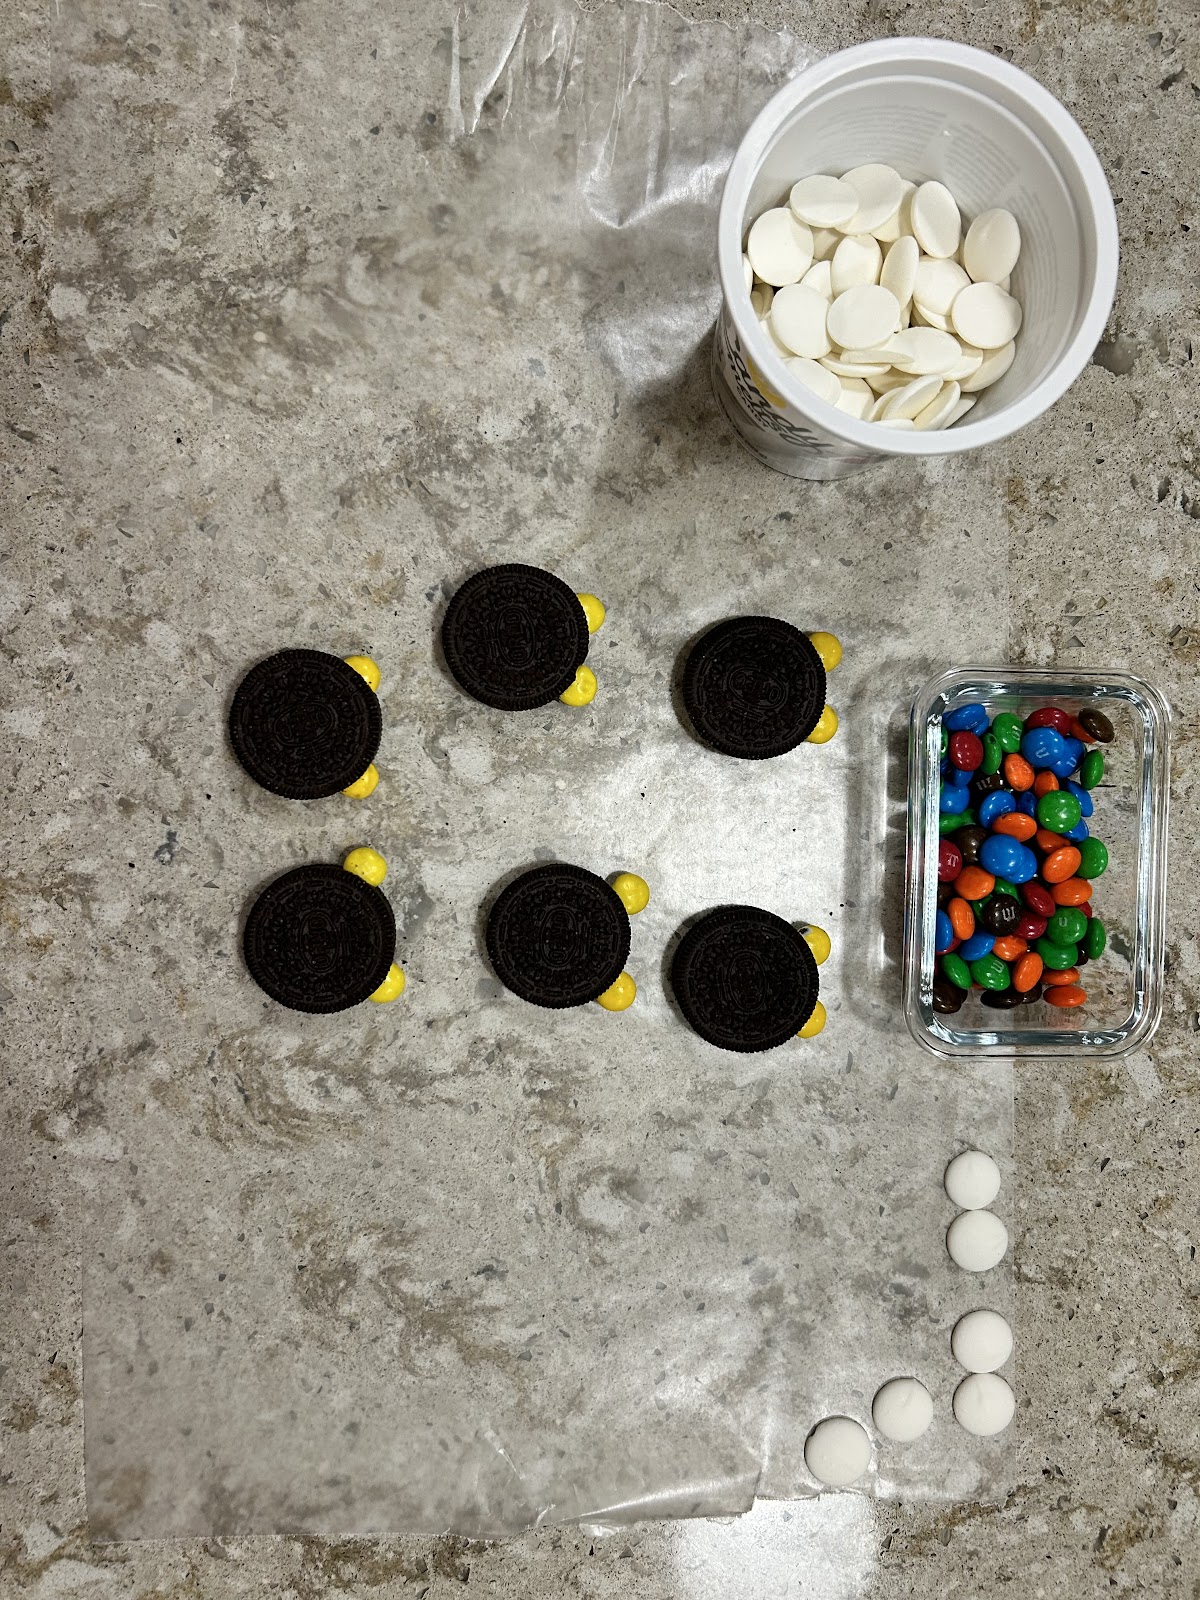
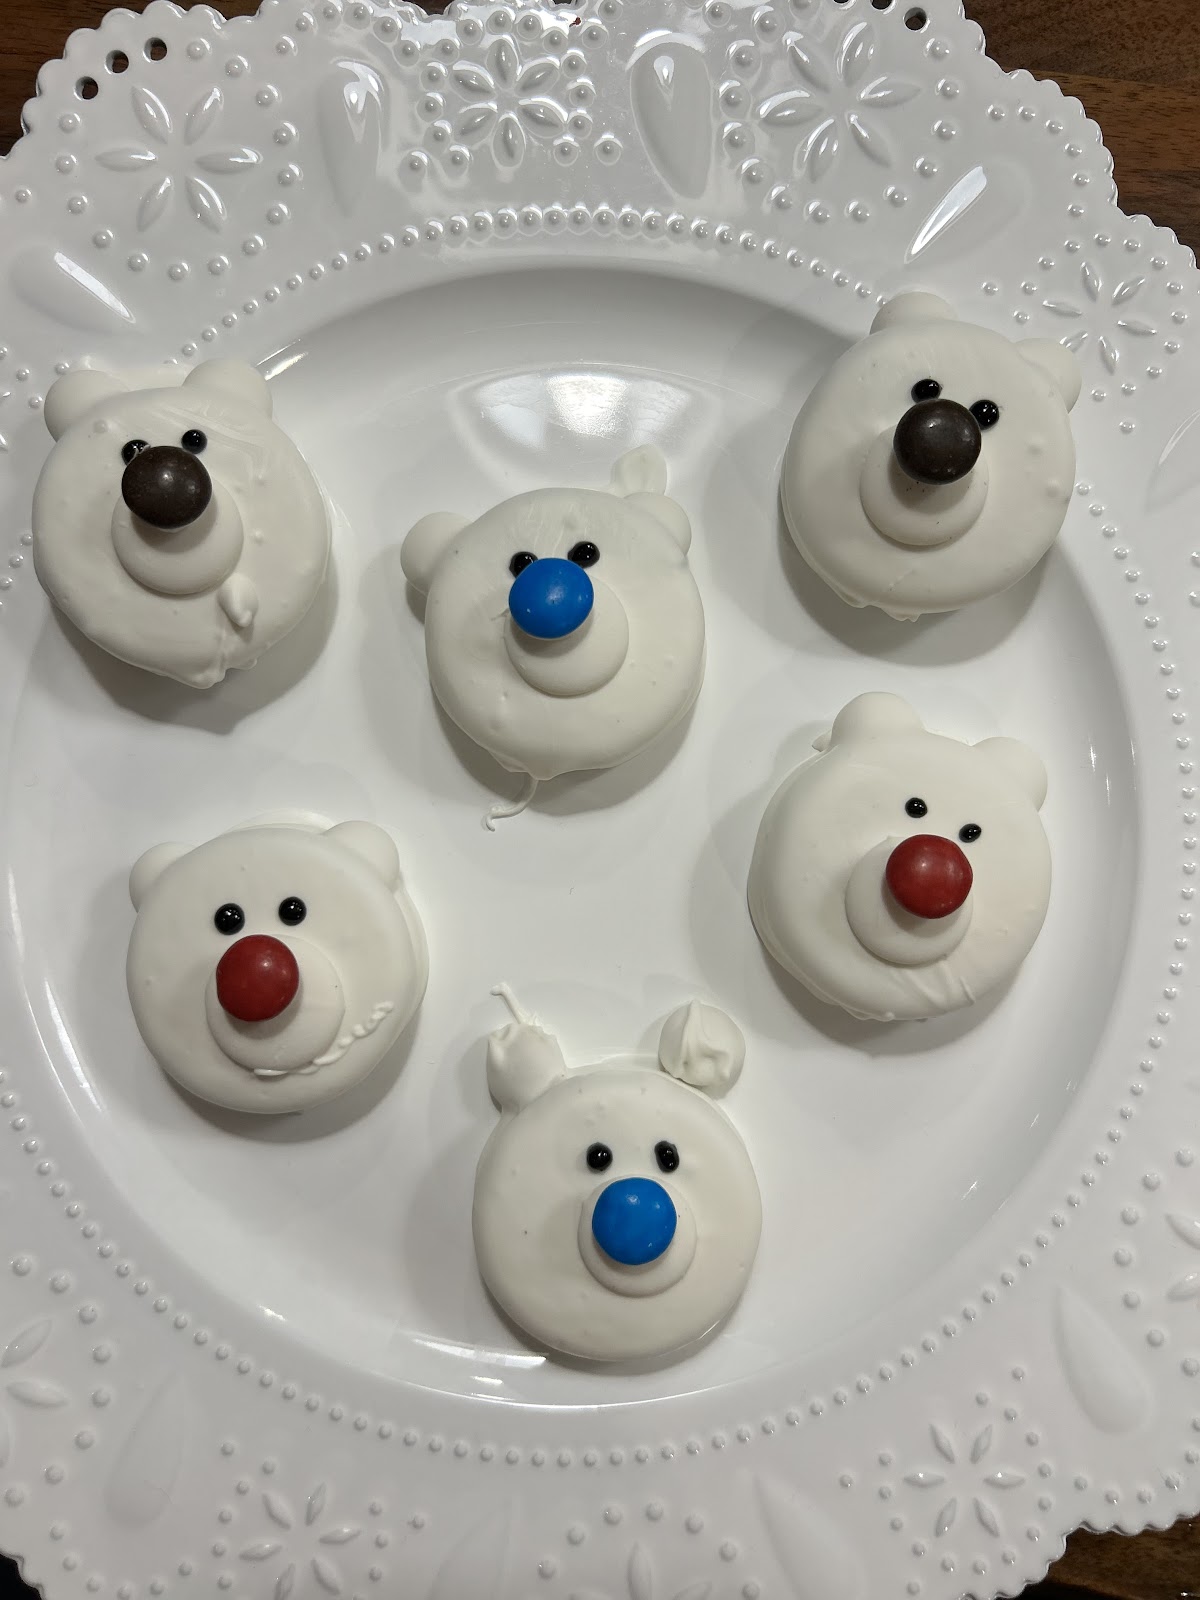
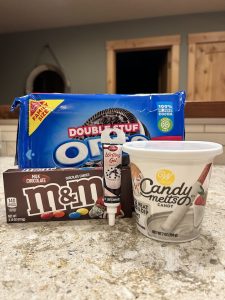
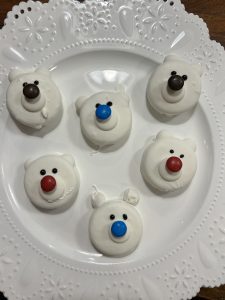
Start by setting out 12 Double Stuf Oreo cookies. Use the candy melts that you can heat up and dip your cookies into, as they are more convenient than having to melt the ones that come in the bag. Next, put the Oreos into the container and use a spoon to cover them in the melts. Then, put a melt onto the Oreo to act as the polar bear’s “nose” with an M&M on top, with two more M&M’s as its “ears!” I did run into a problem with the ears — on a few of the finished ones, the M&M’s fell off. To prevent this, I would recommend that you push the M&M’s into the Oreo filling, covering about half of the M&M. Finally, after making their “eyes” with some decorative frosting, they were ready to be eaten.
I would rate this dessert a 9 out of 10 because this was a super quick dessert to make and they turned out super cute!


